OVERVIEW
Traccar is an open source GPS tracking server.

GOALS
One-click launch
Easy configurable AMI with pre-installed Traccar
INSTALLATION VIA AWS MARKETPLACE:
GET STARTED
OPtion 1. Connect to SSH
In a terminal window, use the ssh command to connect to the instance. You specify the user name for your instance, and the public DNS name or IPv6 address for your instance, the path and file name of the private key (.pem).
ssh ubuntu@publicIPv4address -i [key pair file]If it shows an access denied message run the following command, then run the above command again to connect via SSH.
chmod 400 [key pair file]Option 2. Test your Installation:

To verify the installation, follow the below instructions
Open browser
In the address bar of the browser, type http://<publicIPv4address>:8082
You will see the traccar default page (see screenshot below)
You can also do the same steps on the Traccar Manager App on mobile.

4. Log in as an administrator (default user - admin, password - admin) or register the new user by giving EmailID & Password(see screenshot below)

5. Login by using EmailID & Password, you will see page(see screenshot below)

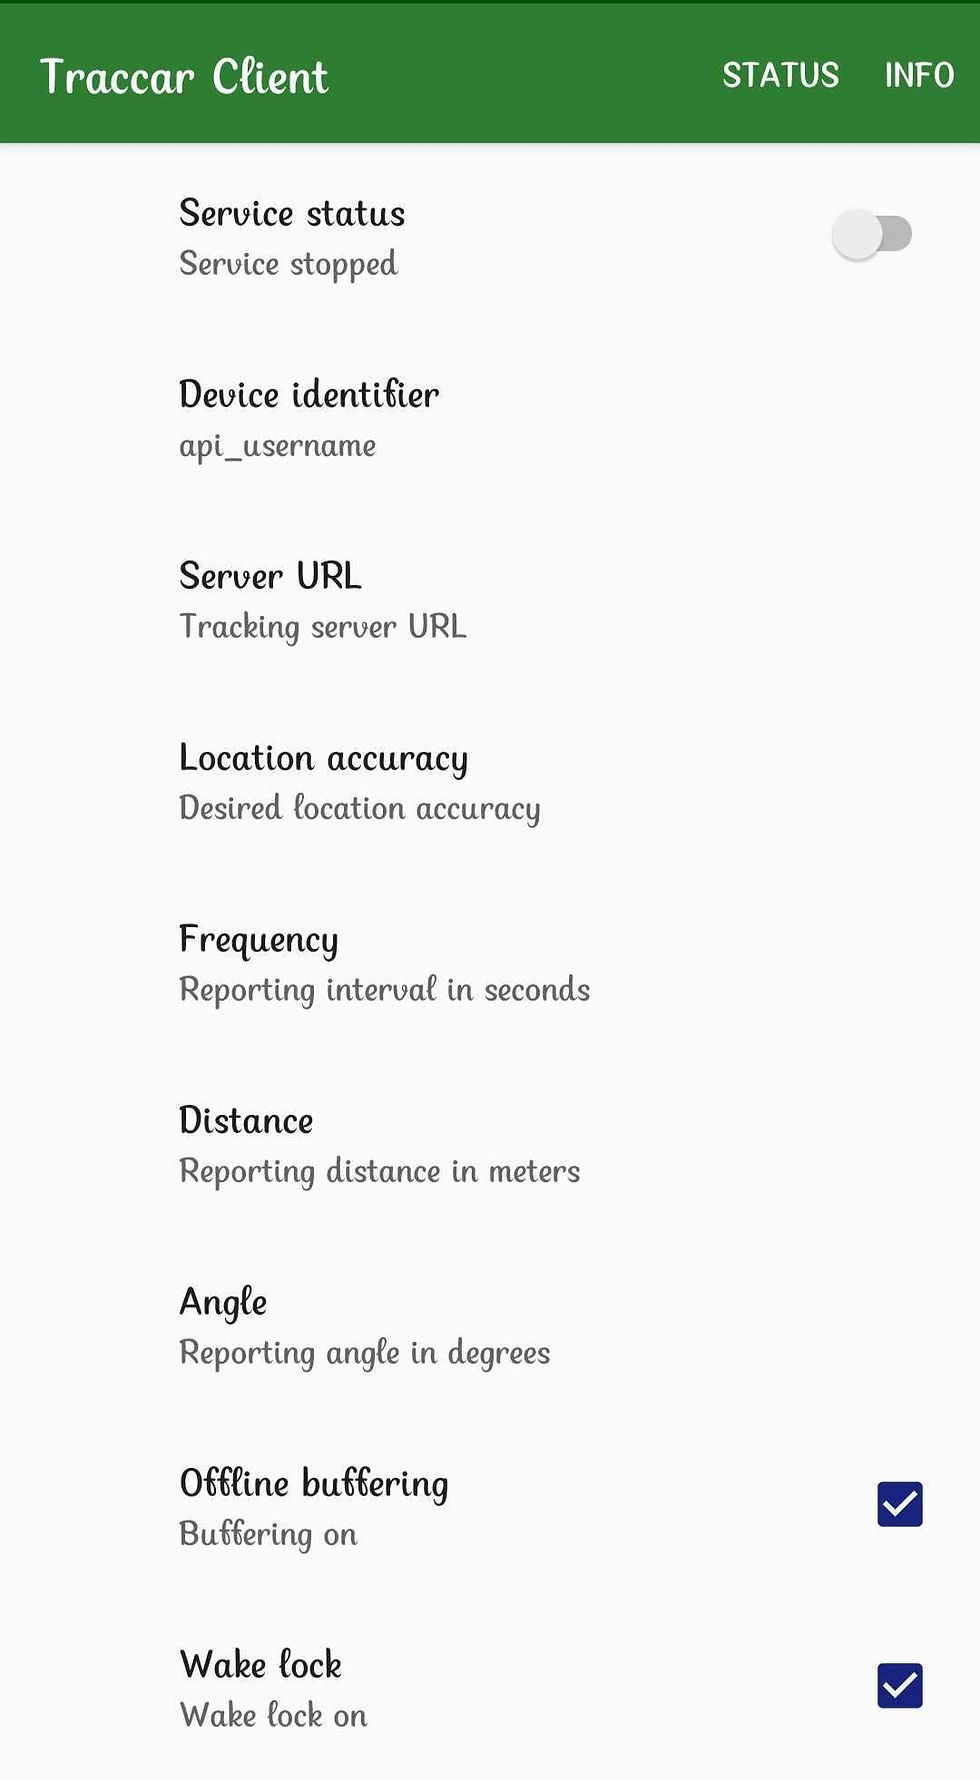
Now you have to install the Traccer Client app on mobile or any other device to track the location.

you can write your own Device identifier name and paste the Server URL http://<publicIPv4address>:5052 (5052 is used for mobile) and save. You have to add port 5052 to the security group before this.
If you are adding other devices you have to replace 5052 from your URL http://<publicIPv4address>:5052. View here
Then start the Service Status. Now go to your Server page. Click the + sign next to the search devices to add a client.

The fill Name: whatever you want and identifier: same as in the client app.

Now click on save.

Maybe it will take more than 5 minutes to show the location. Here is how you can Track your client location from your Traccar server.


Comments